Showing posts with label Cheap to Chic. Show all posts

Sunday, January 22, 2012

Cheap to Chic: Finishing Touches

     We moved to Rhode Island last June, but I am still putting the finishing touches on the boys' room.  Nothing like the impending arrival of yet another boy to get you in gear!  You may recall my personalized oar tutorial, which I used as a piece of decor to tie together the nautical theme.  I still have a ways to go, but I wanted to show you a couple of new additions to the room.
     Months ago, I saw the cutest little wooden chair, and I knew it would be an adorable addition to the room.  All I had to do was sneakily cross the street, and nab it from my neighbor's trash pile out for pickup. (Don't judge, it was very sturdy, and I couldn't bear to see it go to the landfill!) I gave it a new coat of paint, and it is like new! Nolan loves sitting in it while he watches Thomas the Train.


 Here is the chair to start.  It needs a little TLC.


 Here it is after a coat of spray paint.  Note: I couldn't find the red color I wanted in satin finish, so I bought a glossy paint, then shot a layer of clear satin over it.  Easy!


Here is a close-up.

Next, I took an old cracker crate and made a book shelf out of it.  It was as easy as putting some anchors into the wall, drilling two holes in the crate, and hanging it on the wall.  Look how cute it turned out.

I put some old books and a little globe inside, and I think it adds a lot of visual interest to the room.

 I bought the crate at a flea market for $5 a while back.


I love the old lettering on the side of it.


My husband Brett had the idea to frame a nautical chart for an authentic feel for our little sailors.  He's in the Navy, so he knows about these things. :)


Next up is a new bed for Hudson and and quilt, too.  Stay tuned!

Thursday, November 17, 2011

Cheap to Chic: Kitchen Buffet Refinish

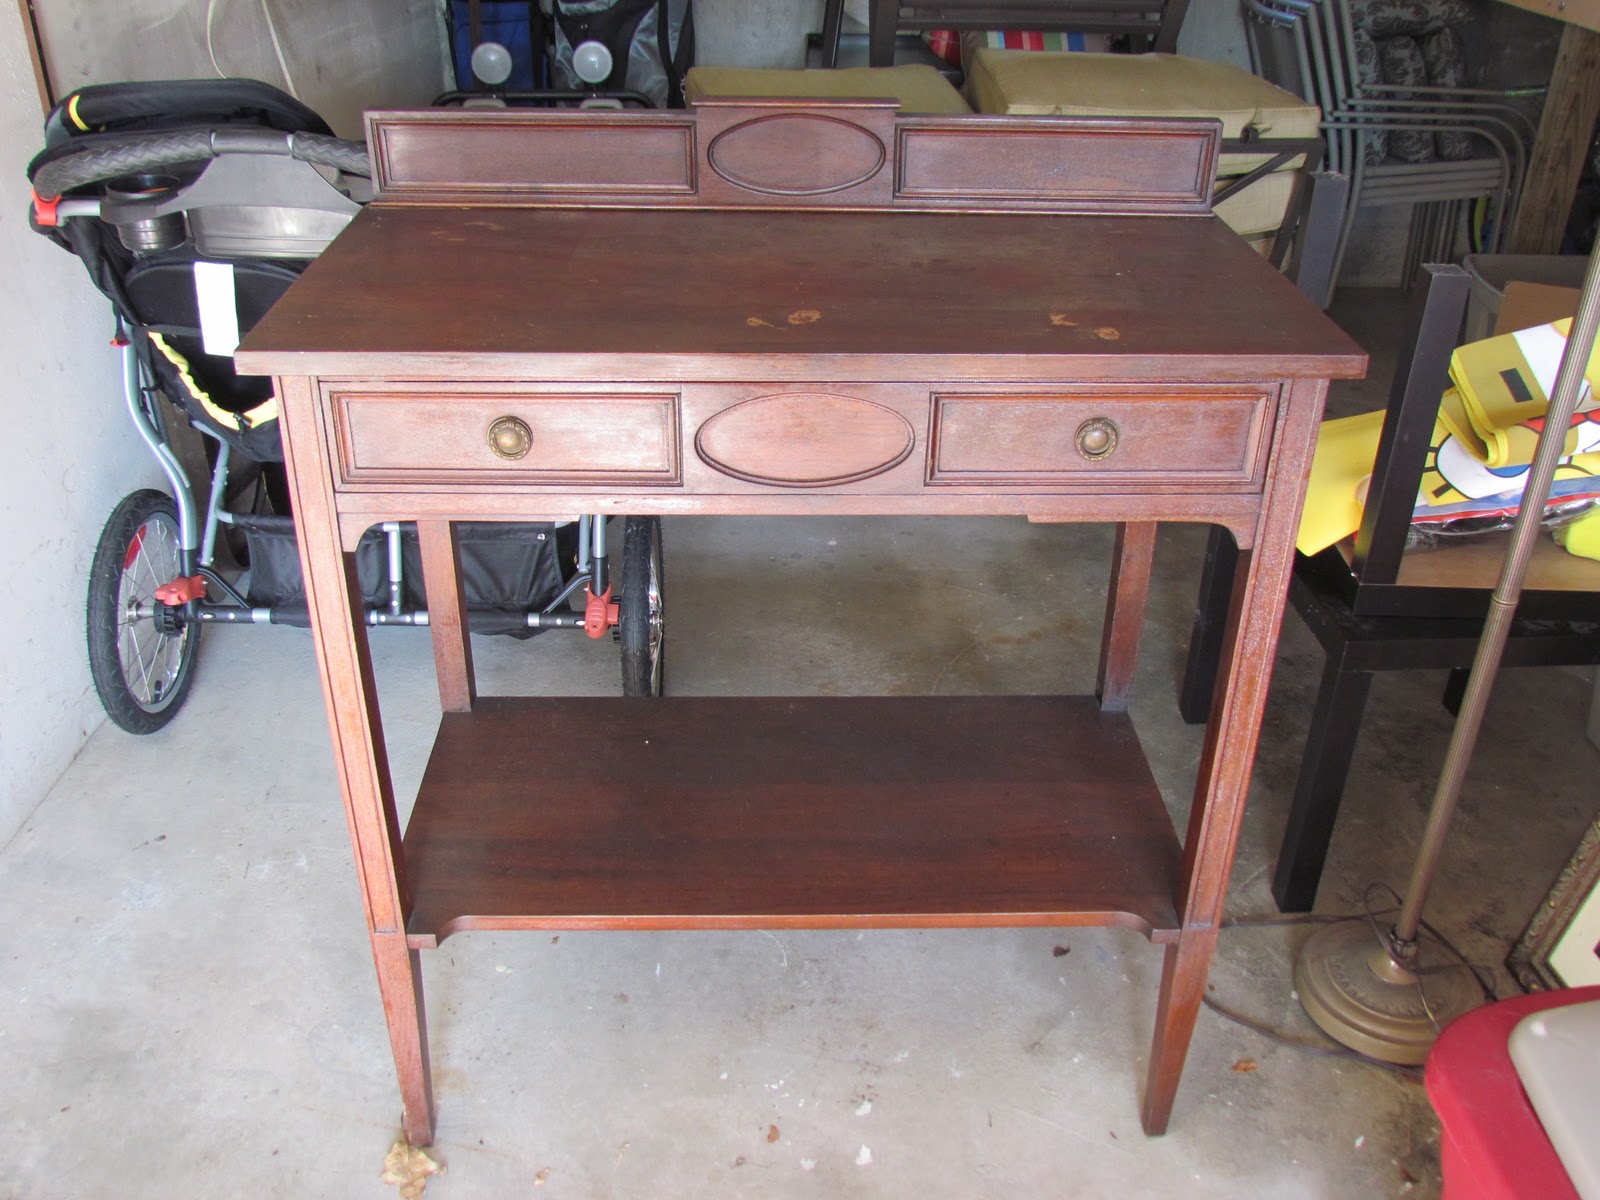
     Our house here in Newport has an awesomely big kitchen.  At first, I thought a dinette was the solution to fill up some of the extra room, but since our dining table was literally on the other side of the wall, I thought that was a little redundant.  I had been looking for a side table or some accessory piece to help organize my junk, and I finally found something I loved at a local thrift store which donates all proceeds to the less fortunate.  Double score.  Here's what I did to turn this cheap buffet into a chic conversation piece.

 This is my buffet to start.  You can see it has been beat up a little.  This piece would have been lovely if I had left it its natural wood color, but I really had it in mind to make it a little more contemporary. 


 This is another view.  Don't judge me by my junky garage.  There are a lot of future projects sitting around.

I removed the hardware, sanded the piece down, and added two coats of aqua paint.  Once it dried, I roughed up the edges by sanding them.  This gives the buffet a slightly distressed look, which is perfect for our household.  Now when someone hits it with a baseball bat or scratches it in a move, I won't be disappointed!


 Here is the finished project in my kitchen. 


Here's another view.  I am pretty pleased with the result, and the drawer will hide all my random paperwork.

Cost:
Buffet: $60
Paint: $10

Time:
One afternoon